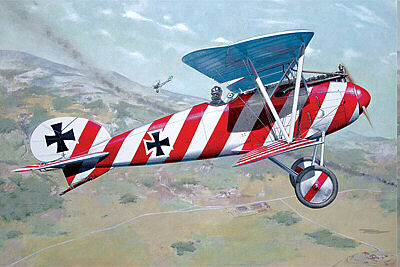
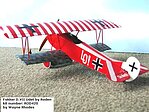
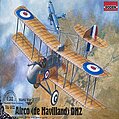
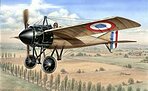
Albatros D III OAW WWI German BiPlane Fighter
This is the 1/32 Scale Albatros D III OAW WWI German BiPlane Fighter Plastic Model Airplane Kit by Roden.
(8)
Roden Model Aircrafts # rod608
Website security verified by GoDaddy.
Member Gallery
(Pictures shared by our community)
;)
;)
;)
;)
;)
;)
;)
;)
;)
;)
;)
;)
;)
;)
;)
;)
;)
;)
;)
;)
← Swipe To View More →
You Might Also Like


← Swipe To View More →
Features
Plastic pieces attached to sprues Accurately reproduced plane construction Detailed pictorial instructions guide you through assembly.
Specs
- Roden Product Number: 608
Includes
One plastic model kit
Requirements & Suggestions
- Assembly
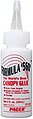
- Plastic cement (TES3501) (PLS00002) (TAM87012) or glue (HLC107)
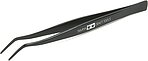
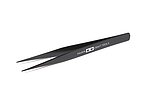
- Modeling Knife (EXL16001) (XACX3627) (EXL16018)
- CA Glue (HLC107) (HLC106) (PAAPT02) (HLC121)
- Paint (Matte Slate Gray, Matte Black, Matte White, Gunmetal, Aluminum, Camouflage Gray, Red Leather, Matte Linen, Matte Natural Wood, Matte Rust, Matte US Dark Green, Matte US Tan, Matte Light Green, Matte Pale Blue)


← Swipe To View More →
Product Rank
#632 in Plastic Model Airplanes
#3,176 in Plastic Models
Reviews |
Comments
Keep small parts and sharp edges away from children Care should be taken when using tools and modeling knives Modeling paint should only be used by an adult in a well-ventilated area.
Others Also Ordererd


← Swipe To View More →