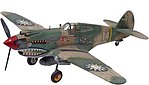
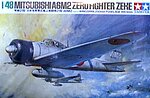
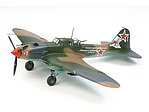
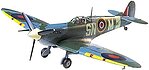
Hawker MK.1B Typhoon
This is the 1/48 Scale Hawker MK 1B Typhoon Plastic Model Kit from Revell Monogram. Suitable for Ages 10 & Up.
)
Monogram/Revell # mon855258
$12.57
| Retail $16.95 SAVE 26% ! | |
Out of Stock Discontinued - No longer available for purchase |
Website security verified by GoDaddy.
You Might Also Like


← Swipe To View More →
Features
- Highly detailed plastic molded in light gray and clear.
- Typhoon armamanet, 4 20mm cannons and 8 3-inch rockets.
- Optional landing gear down or retracted, open or closed canopy.
- Detailed interior and pilot figure.
- Waterslide decals.
- Illustrated instructions.
Specs
- Scale: 1/48
- Length: 8" (203.2mm)
- Skill level: 2
- Pieces: 41
- Monogram Product Number: 855258
Includes
One plastic model
Requirements & Suggestions


← Swipe To View More →
Reviews |
Markings
- One decal sheet with markings for 2 aircraft
- 1) Typhoon 1Bs, MN819 MR-?, No.245 Squadron, June 1944
- 2) MN882 TP-Q, No.198 Squadron, July 1944
Comments
Keep away from children under 3 years of age due to choking hazard..