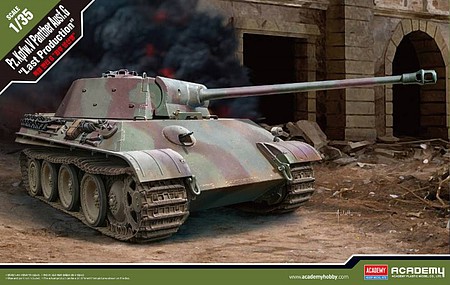
The German Panzer V Panther, next to the Tiger, is probably one of the most popular and recognizable tanks of World War II. Academy has released the G version of this iconic tank in an all new tooled kit. This version is from very late in the war, about January to April 1945 timeframe. Inside the large box is five bags of sprues, two instruction sheets and a small bag of decals and photo etched sheet. The F sprue is attached to the C sprue. There are four sprues of link and length tracks and four of the D sprues which is mainly road wheels. I like that the sprue letters are molded as cut outs, not the raised letters as usually. This makes it much easier to find and read these letters. Eight clear poly caps are included, but only two used. The decals sheet is three turret number options and four German crosses. The photo etched is engine screens and bolt heads. The instruction sheets are quad folding, with 16 assembly steps and eight painting/decal options.
The assembly starts with drilling holes in rear deck, turret and commander's copula. You must make a decision on which of the six version options you re going to build, since this affect what road wheels, side skirts and copula is to be used. The plastic seems softer then normal, which makes it easier to cut, but also easier to gouge or over sand. There are 16 road wheels per side for a total of 32. They have three sprue attachment points and a light seam, so it will take a while to clean them up. There is an option to use one set of all steel wheels on the back axle. The tracks are link and length and there is three knock out pin marks on each track link, so some sanding is required. The extra track links on the side are the same way. I had to fill this pin holes with putty. I left the tracks off until the end and then left off the top run, since I used the side skirts. When positioning the side skirt holders, parts B21 and D18. I found that using the skirts helped with making sure these brackets were in proper alignment. The tracks stick out too far from the hull by the front sprocket which makes the side skirts not want to attach properly. I had to cut off the sprocket stops on the sprocket hub so it would mount closer to the hull. The skirts then fit better, but the front does tilt out at the bottom more then the back.
The engine hatches can be positioned open, but there is no inside hatch or engine details. The front hull hatches can be left open since there is interior hatch details, but there are deep knock out pin marks on them. The antenna is just a little nub on the mount. I removed this, drilled out the mount and added a brass wire. The photo etched is shown as optional on the instructions. I guess Academy does this so inexperienced modelers do not fell pressured to use it. The photo etched screens are easy to install and add a lot of details, so I recommend using them. The instructions have you build the air intake screens off the engine deck, but I found it easier to use the mounting holes on the deck to help align this assembly up, so I built them in place.
There are some more deep knock out pin marks on the front fender holders by the tow shackles that need to be filled and sanded. This seems to be the most reoccurring problem with this kit. When I got to attacking the upper hull to the lower hull, the left front did not match up. I had built the three-piece lower hull a little out of square, so had to do some sanding to get them to fit. The turret instructions would have you drill the side tie down holes from the inside, but there are no witness marks on the inside. I drilled them from the outside using the small half-circle mounting guides as drill guides. There is not much turret interior details. The rear loaders hatch is operational and had interior hatch details, same with the commander's hatch. The turret was warped, so when I installed the rear panel, I had to make sure it lined up correctly and apply some pressure to realign the turret sides. The instructions say to cut the tow cable to 170mm, or about 6.50 inches, but that is too short. I did this and the cables do not drape over the side as they should. I would suggest cutting them about 7.5 to 8 inches long. There is plenty of string included to go with this longer length.
;)
;)
;)
;)
;)
;)
;)
;)
;)
;)